Smoked Jerky
Boy, do I love biting down on a tasty slice of jerky, and I know I'm not the only one. Not only does it taste good, but it travels well, which is why it's a favorite with cowboys on the trail, truckers, hunters and everyone that craves good smoky flavor.
DIY
If you've ever wanted to try making your own jerky but think it may be too much trouble, I'm gonna show you two different, easy methods to do it yourself. The first is indoors in your own oven, and the other is outdoors on your smoker, and neither method requires a dehydrator.
We appreciate you sharing our recipes with your friends and family!
Start With The Right Cut Of Meat
You can use several different cuts of meat to make jerky and wild game is a great choice too. I prefer a good arm roast because it's easier to slice.
No matter what cut you choose, if you don't have a slicer or you have you a problem getting the meat sliced thin, stick that thing in the freezer for about an hour. Once it sets up and chills, you'll be able to slice it so much thinner. Just remember, when slicing, make sure to remove all the excess fat, because fat will make the jerky spoil.

Savor The Flavors
Time to talk about marinade for our jerky. Let's get saucy ... soy, Worcestershire, liquid smoke. Liquid smoke comes in several flavors; I prefer that good mesquite flavor. Remember the liquid smoke is stout, so you only need to use a small amount to get a good smoky flavor.
Once you coat the meat in your marinade, cover the bowl and place it in the ice box for at least 6 hours.
I like to leave it overnight to get the best flavors.
Heat It Up
Preheat your oven to 180 degrees; it doesn't take much heat. Low and slow is what your looking for this non-dehydrator smoked jerky you can make right in there in your own kitchen. Line a rack with aluminum foil to keep from making a mess in your over, place the meat in a single layer, and make sure each piece is flat, straight and not folded over.
The no dehydrator trick here is to place a towel or pot holder in between the door and oven to allow airflow while it's cooking
Smoke It If You Got It
Move things outside to your smoker for this version! I'm using my Pit Barrel Cooker and placing the meat on skewers leaving space between the pieces so the air can circulate. However, you can use any type of smoker you have for this.
Give it a couple of hours at between 170 and 180 degrees and get ready to savor the flavor.
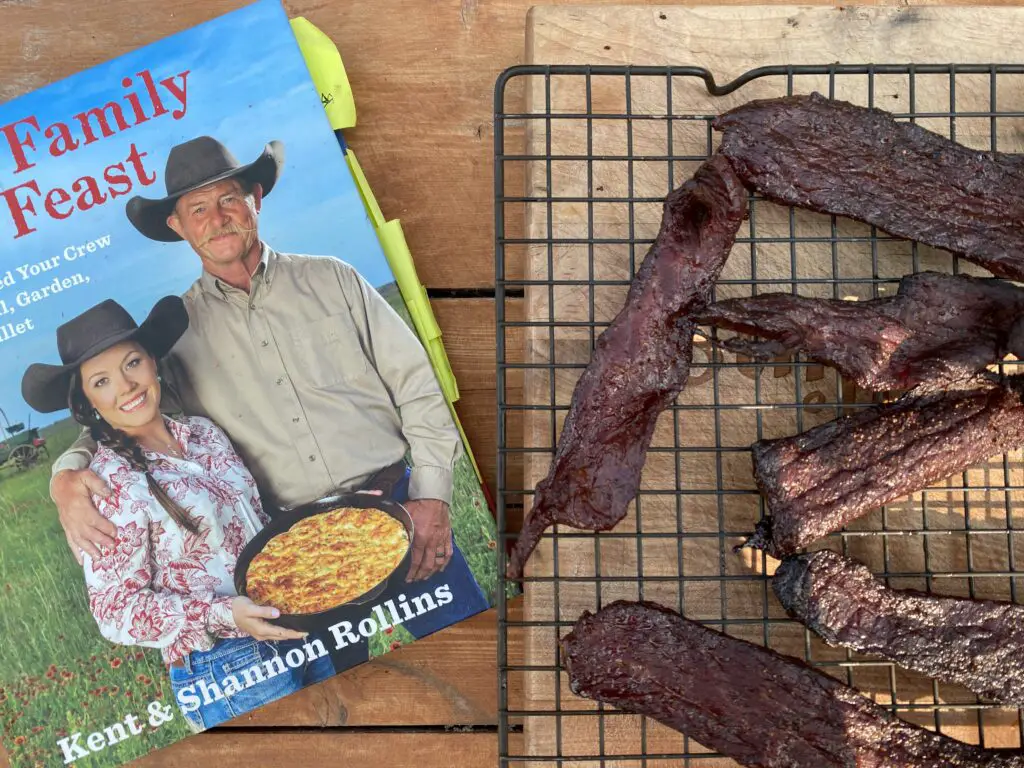
Our no dehydrator recipe is also in our cookbook: Faith, Family and the Feast
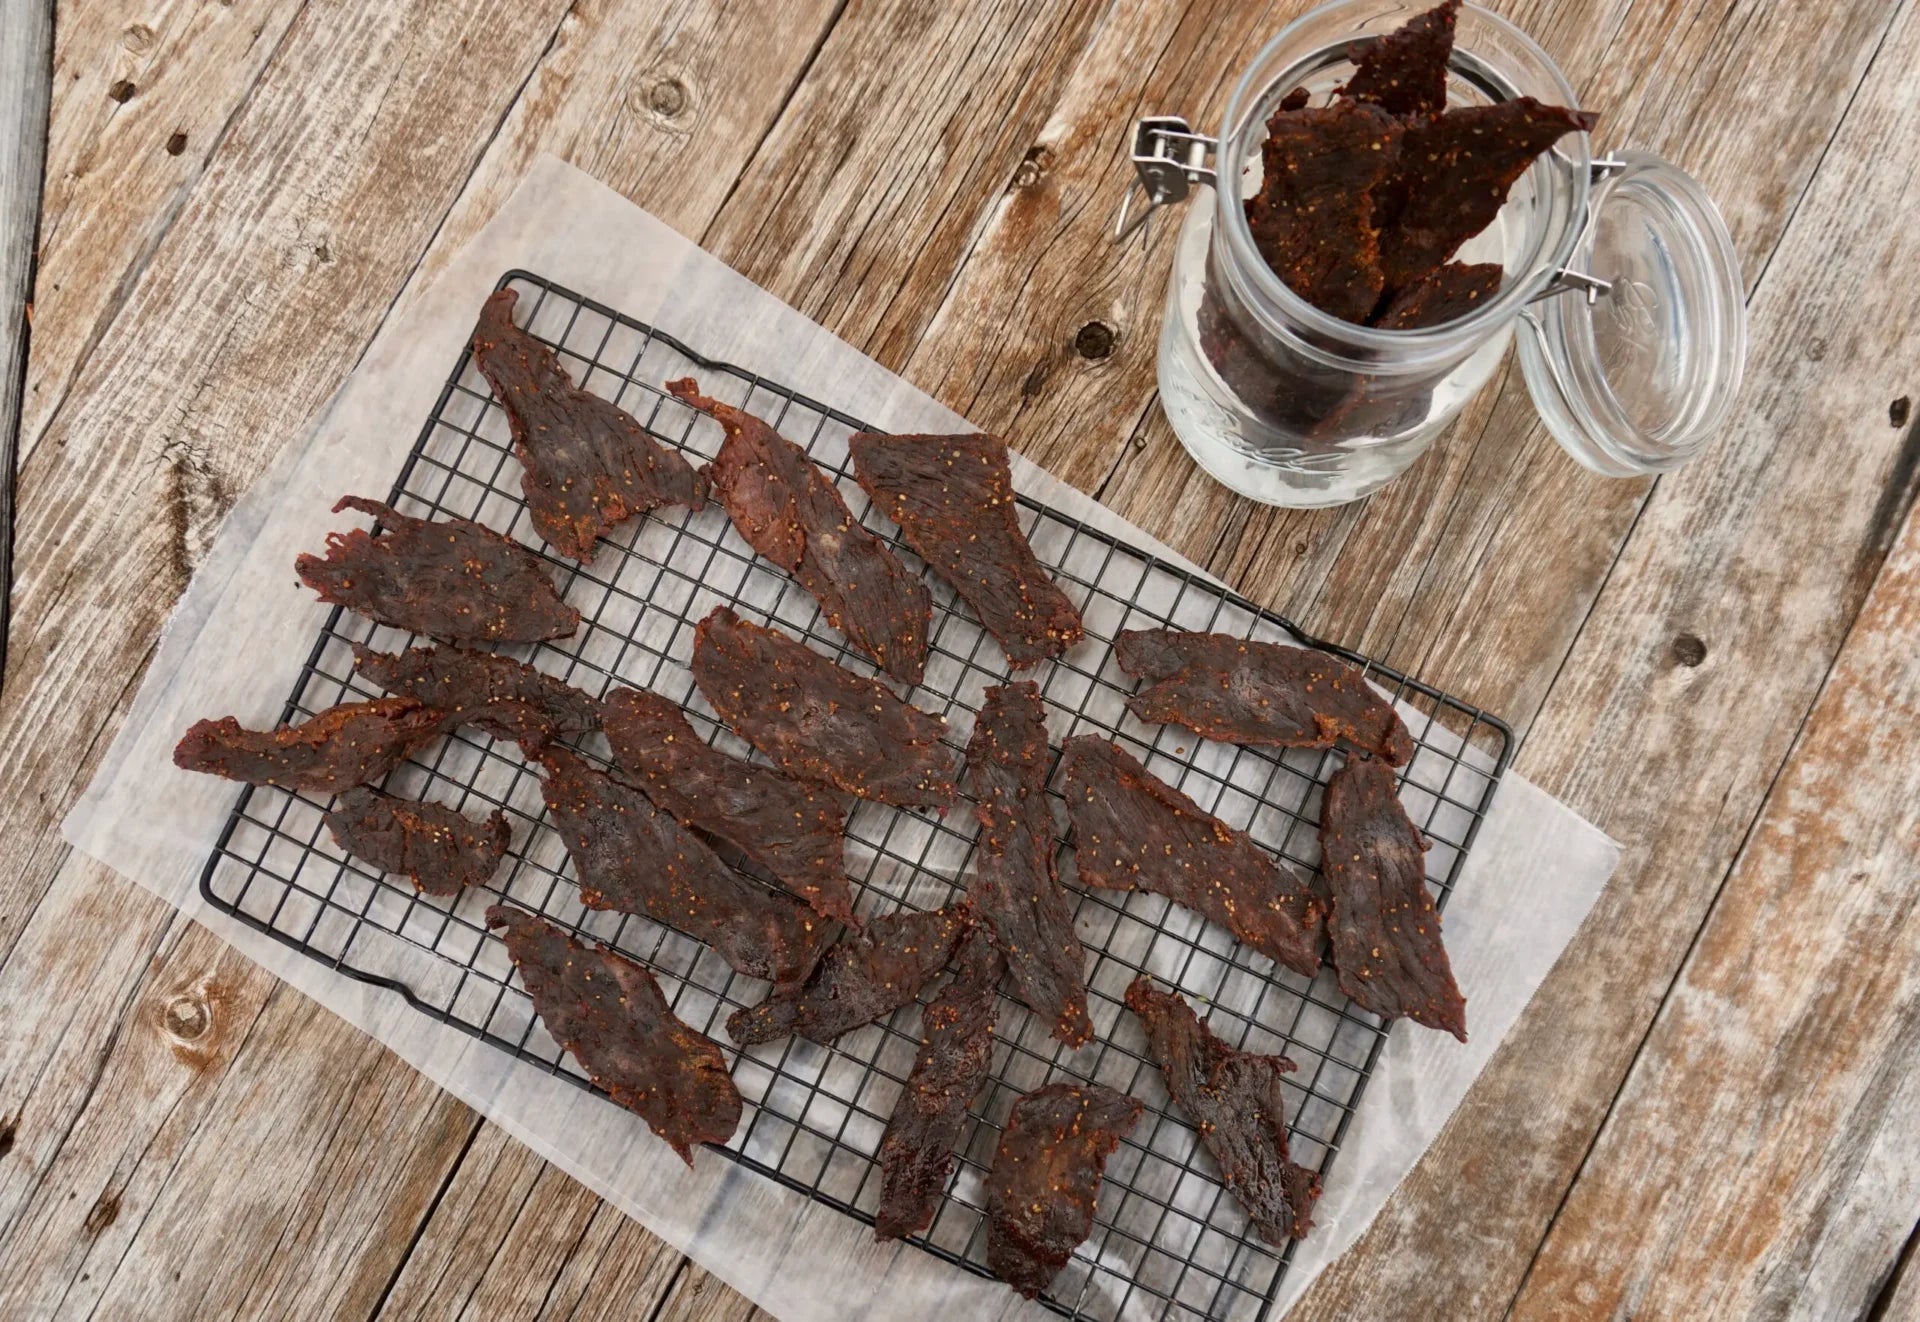
When It's Done
I like my jerky "bendable," more tender and chewy. If you like your jerky on the crispier side, just cook it a little longer. Whichever method you use, once the cooking/smoking process is down, let the jerky dry for at least an hour.
For storage you can freeze these for a long time. For shorter term storage place the jerky in a airtight container with a paper towel and keep for up to 5 days.