New Mexico Chile Rellenos
The difference between a green chile and a red chile is just a couple of weeks. This recipe will work with red chiles or green chiles and fully uses all of the flavor available in each one. For chile rellenos like you've never had, check out the video or the free printable recipe at the bottom of this page.
How to Pick the Perfect Chile for Chile Relleno
When choosing the perfect chile for Chile Relleno, take a look at the skin on the outside of the chile. Whether it's red or green, mild or hot, what you need to look at is the smoothness of the skin. If the chile is wrinkled, it's not going to have much meat left to it and won't hold up to roasting and stuffing.
We appreciate you sharing our recipes with your friends and family!
TIP: Look for a chile with plump, smooth skin.
Step One: Roast the Chiles
Roasting the Chiles until the outside membrane is charred is going to bring out so much flavor from the fresh chile. Don't skip this step. If you aren't cooking these over the fire, use a broiler or the flame from a gas stove - just watch both very closely to avoid burning down the kitchen. Please.
When you achieve the desired amount of char on the outside of the chiles, place them in cold water. This will help you peel off the skin.
Step 2: Stuff the Chiles with Asadero Cheese
If you can't find Asadero, you can use Muenster or a Mild Cheddar. The important thing is to cut the block of cheese in 1" slices that will perfectly fit inside your roasted and peeled chile.
Step 3: Make Frothy Batter with Eggs
This method of preparing the batter for chile relleno is a difference maker. Start by separating the whites from the yolks. Set the yolks aside but do not throw them away - you will use those later. Using a mixer, beat the egg whites until they are very fluffy with stiff peaks at the top. Once the egg whites are full and fluffy, continue to beat, adding yolks one at a time until entirely incorporated into the batter. The texture of the batter will be fluffy and will create a delicious flavor and texture on the finished chile relleno.
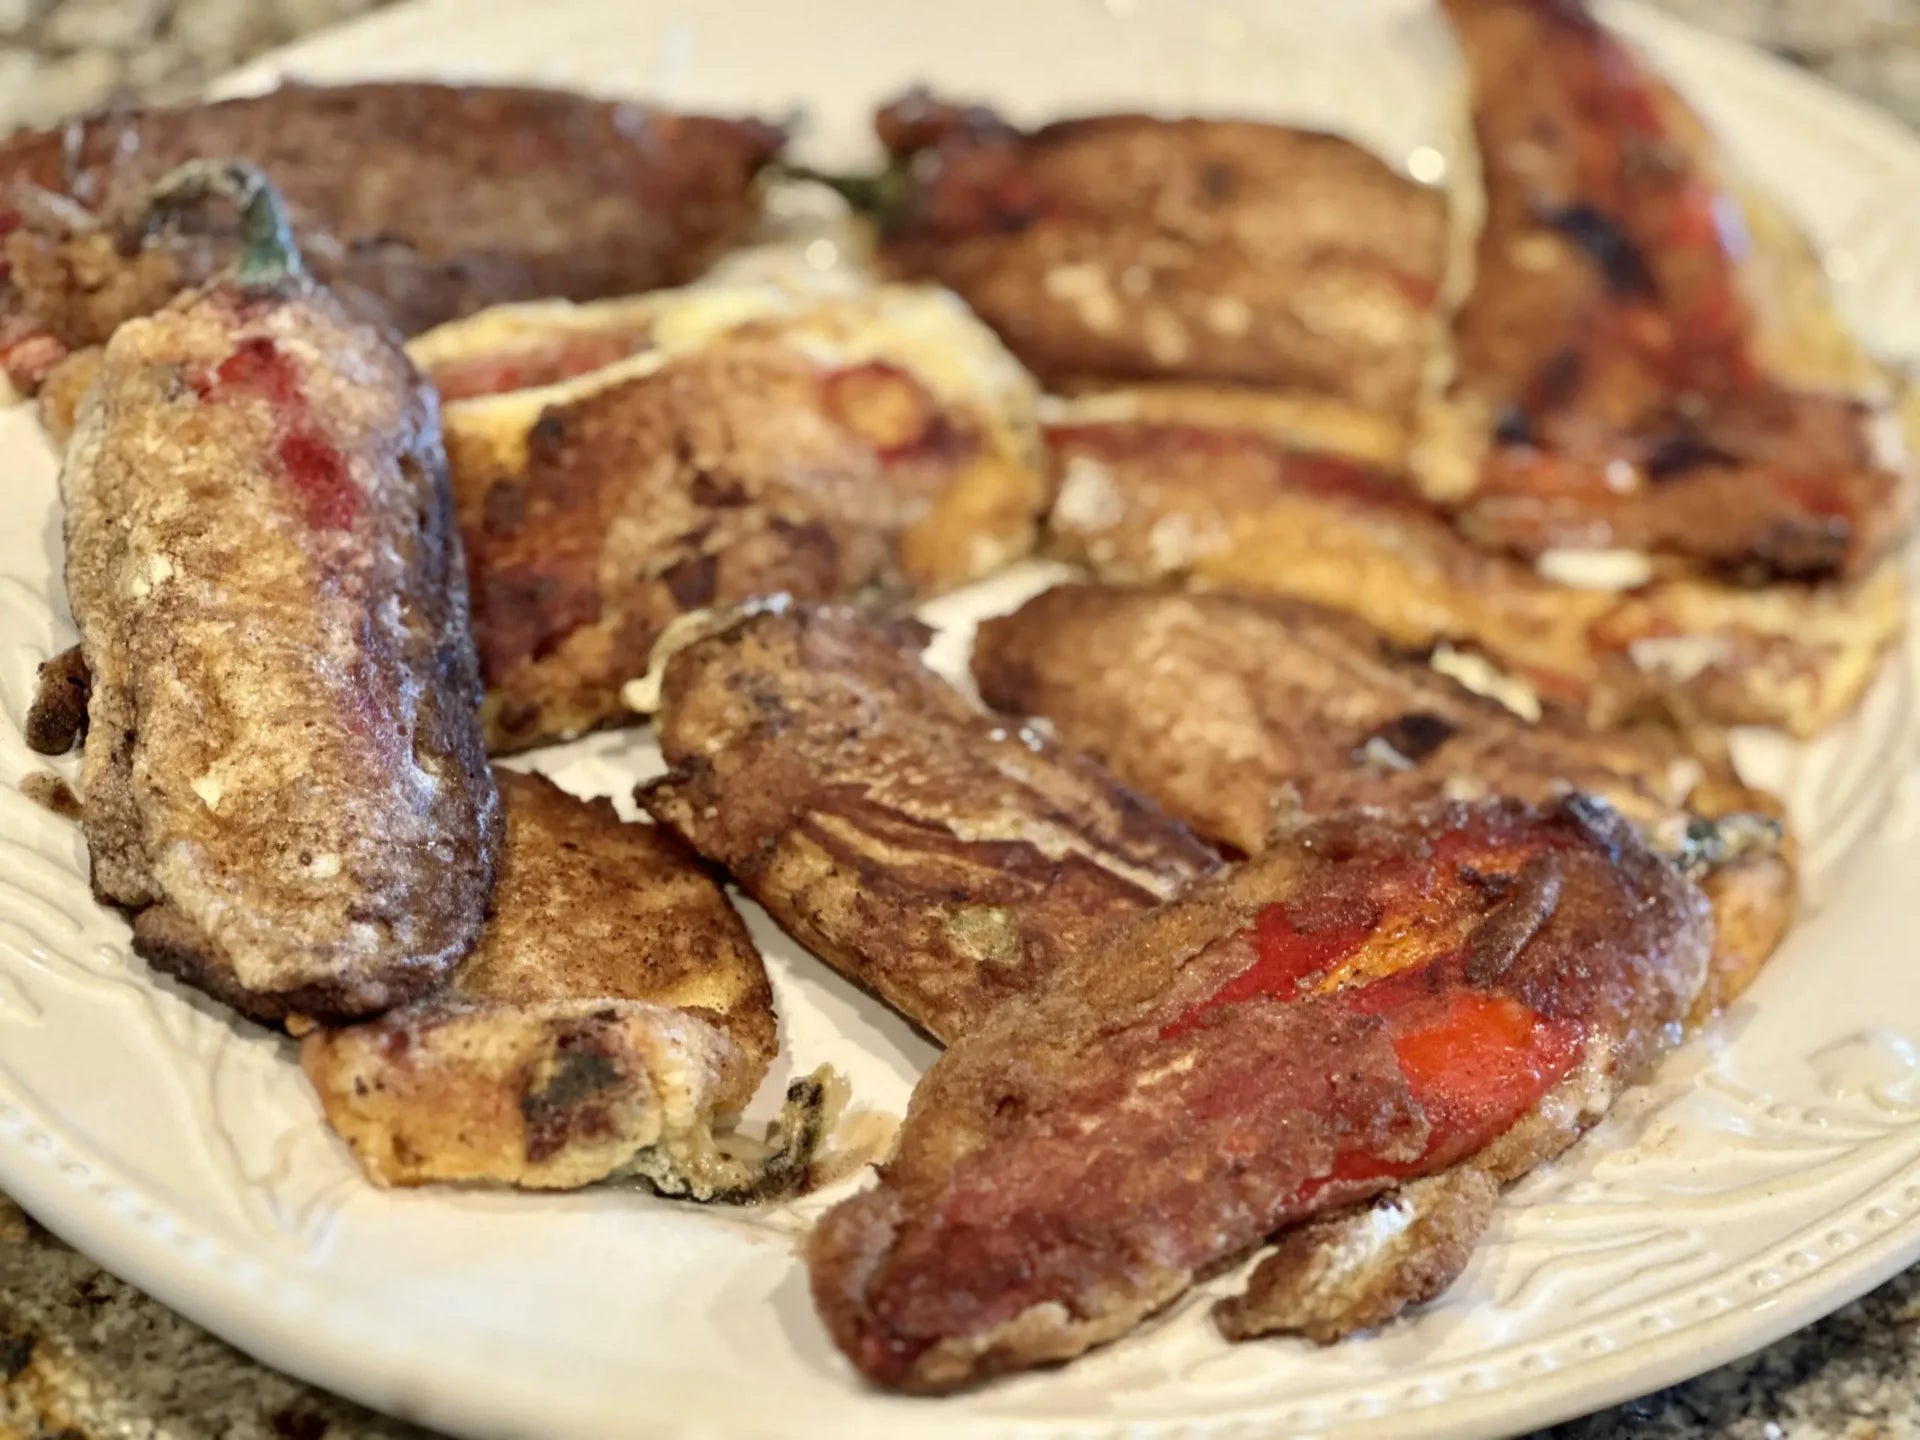
Step 4: Pan Fry the Chile Relleno
Start by dipping the chiles in flour. This will help adhere the batter to the chile. Dip in the egg batter and place in a pre-heated & lightly oiled skillet. Cook until the batter is golden, then flip. When the batter is firmly cooked throughout, you're ready to eat.
As always, we thank you for sharing our food with your family and friends. Please subscribe to our YouTube Channel, and follow us on Facebook. Sign up for our e-mail newsletter for weekly recipes and event updates! We do not sell or share information with anyone.