Baby Back Ribs
It's the start of grilling season and what's a better summer recipe than ribs? Today we're cooking up some baby back ribs with a dry rub. The trick we use is to steam them first for tenderness so they fall off the bone, and then throw them on the grill for a little char.more
I do love me some ribs! All kinds. But I think the baby backs are my favorite. They are higher up and closest to the loin of the pig, which makes them more tender and they have such a great flavor.
Now, when you see the ribs in a butcher case, make sure that they are good and meaty. Be careful that you don't get what we call "shiners." You don't see them very often, but some you'll see a lot of bone peeking out - that's what we call a shiner slab. They are alright to eat, but they tend to fall apart during cooking because there's not enough meat covering the bone.
Let's Get Started!
Folks, first of all, remove the membrane from the bone side of the ribs. You can just slip your knife under the first bone and pull it up. Get a paper towel which will make it easier to grab and then pull it all the way off. This is easier to do when the rib is chilled well. Having that membrane off will let the seasoning soak in better and make them more tender.
Peel the membrane off with a paper towel.
Seasoning the Ribs
Rub both sides of the ribs well with lime juice. Remember, we're not making this taste like lime, lime is a natural meat tenderizer.
Lime is a natural meat tenderizer.
Now you want to generously coat all sides of the ribs with our dry rub (recipe below). Don't go sparingly on it - make sure everybody's got some of it on there.
Season all the sides of the ribs well.
Now, place the ribs in a pan and cover it with tinfoil, and place it in the icebox for 3 to 6 hours, or overnight is even better.
We appreciate you sharing our recipes with your friends and family!
Let's Get to Cooking Them Ribs
Be sure you take the ribs out of the icebox about 40 minutes before you start cooking them.
Today we're going to start these in a 16" Dutch oven. I greased the inside bottom of it well before we started, because I'm putting an insert in there. When you cook with an insert, it's hard on iron so be sure to season it a little before starting.
Place a rack in the insert and put the ribs on the rack. Add a little chicken broth (or you can use water) in the bottom to create a steam effect. Be sure you don't pour the broth on the ribs or all that good seasoning will wash off.
Add a little chicken broth or water to make the steaming effect.
If you're cooking in the house:
Preheat your oven to 300 F degrees. Put a rack in a foil pan, or a casserole dish, and add the chicken broth. Cover it with foil and bake for 2 hours.
Since I'm cooking this outside, I'm adding pretty heavy coals on top and in a circle around the bottom. Be sure to rotate a few times while cooking. With a good hardwood coal, this will probably only take you an hour.
A heavy load of coals both on the top and bottom.
Add a little more broth if needed as they cook so they don't dry out. When those ribs start to brown slightly and pull away from the bone, they're ready to finish up on the grill.
Check out our video below for more outdoor cooking tips!
Be sure your grill is oiled really well, because with the sugar in this rub they will want to stick.
Next step - grilling off the baby back ribs.
You just want to cook the ribs until they get a good char on them, rotating as needed. It won't take long, maybe 5 to 8 minutes.
After I take them off the grill, I like to give them another sprinkling of brown sugar and let them sit a few minutes before serving.
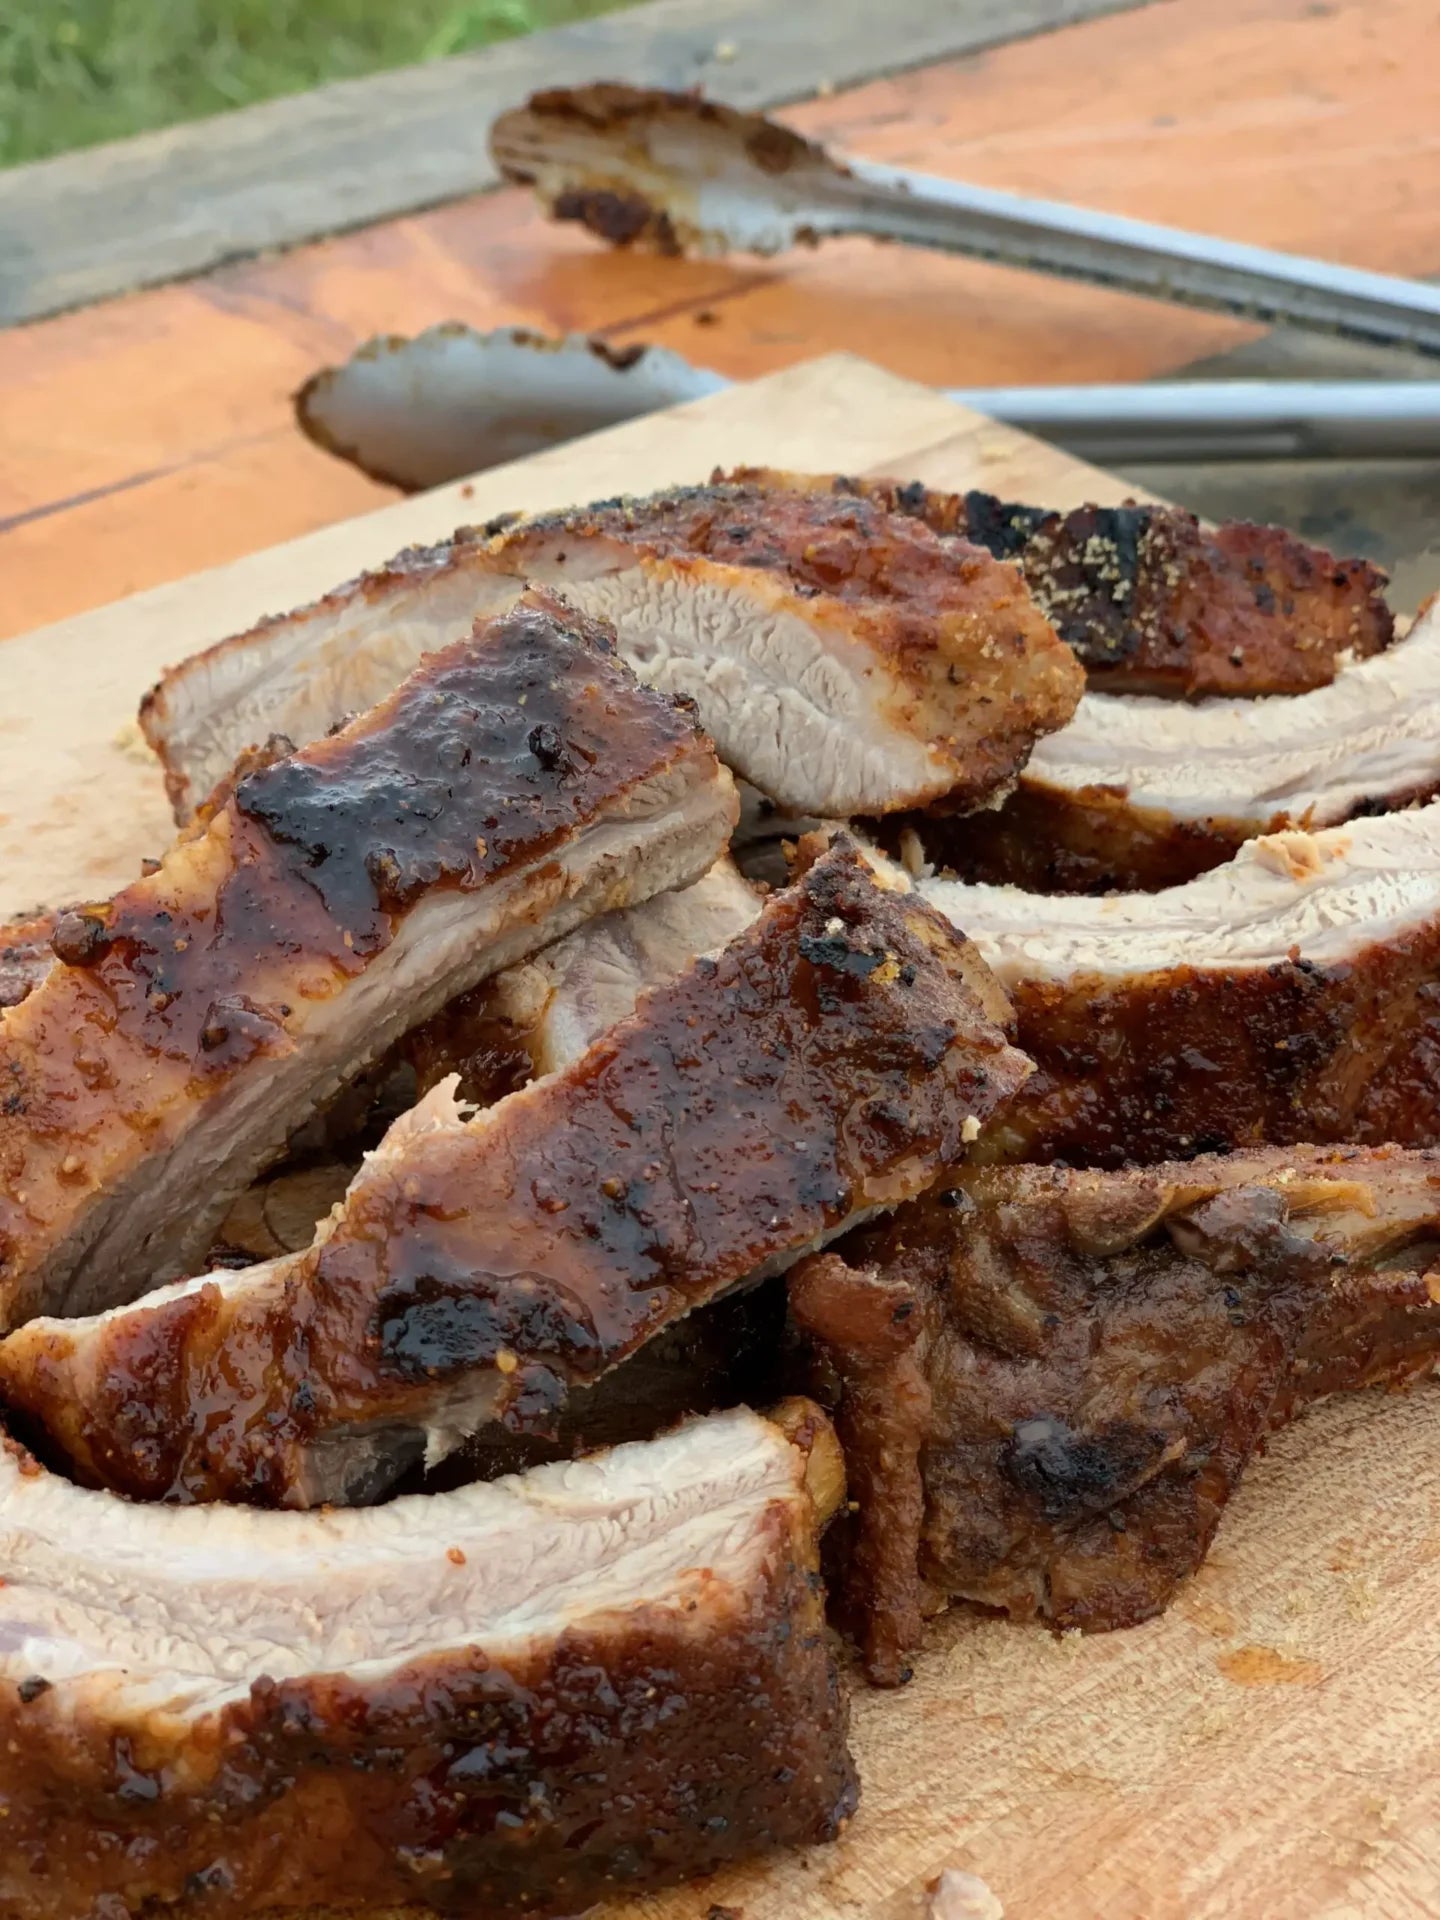
Enjoy Baby Back Ribs!
You'll see they have that good crust and good color! Now it's time to slice and serve. Y'all be sure to get out in the backyard, invite the neighbors over and enjoy some pork ribs this season!